Creating Activities
You can create new activities at any time. During the setup process, you can also connect activities to Uptempo Spend investments, as well as record projected Impact and KPIs.
Create a New Activity
To create a new activity, follow these steps:
-
In Uptempo, click Activities in the navigation sidebar.
-
In the Activities section, click Create Activity. The button is available on both the Timeline and Summary display modes:

The Create Activity setup assistant opens with the Type page displayed.
-
On the Type page:
-
Use the Activity type list to select the type of activity you want to create from the available options. You can also type a keyword into the field to search for matching options.
-
Use the Parent list to select the activity under which you want to create this new activity in the hierarchy. You can also type a keyword into the field to search for matching options.
Note: Depending on the rules set up in your Uptempo environment, selecting a parent activity may be optional for some activity types.
-
Click Next.
The Details page is displayed.
-
On the Details page:
-
Enter a name for your new activity into the Name field.
-
Optional: To set the date range when this activity will be in-market, use the In-market Dates fields to choose a start and end date.
-
Depending on the activity type you selected, additional attribute fields may be displayed. Complete any other attributes as needed: if an attribute is marked with an asterisk (*), it is required and you must select or enter a value before you can proceed.
Note: If you see the icons
 and
and  next to an attribute name, then these attributes are part of a dependency. Hover over the icon to see information about which other attribute is part of the dependency:
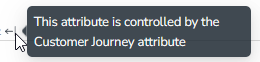
The options that you can select in the dependent attribute are controlled by the value of the controlling attribute. If no option is selected for the controlling attribute, then no options are valid for the dependent attribute. If the controlling attribute is a multi-select field, the available dependent options will be the combination of the valid options for each selected controlling option. -
Click Next.
The Budget page is displayed.
-
-
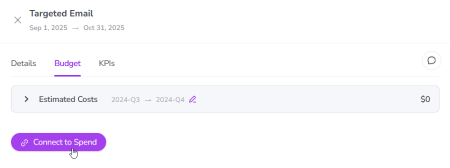
On the Budget page:
-
Optional: To enter a cost estimate for this activity, use the Estimated Costs field. For instructions, see Estimating Activity Costs.
-
Optional: To connect this activity to an investment, click Add funding source. For instructions, see Connect Activities to Spend Investments.
-
Click Next.
The Impact page is displayed.
Note:
The specification of attributes can have an influence on the calculation of the performance plan data. We therefore recommend that you first edit all attributes of the activity on the Details tab. Only then calculate the performance plan data. For more details see Planned Impact.
-
-
On the Impact page:
-
Optional: If the parent activity you selected on the Type page allows child activities with performance data (or if the activity you're creating does not have a parent), you can configure the performance data here. For instructions, see Configure Planned Impact.
-
If no additional steps are displayed after the Impact step, skip to step 8.
-
If a Workflow step is available, click Next.
The Workflow step is displayed.
-
-
On the Workflow step:
-
Optional: If the activity is linked with a workflow, decide when the workflow will be started:
-
If the workflow is to be started with the creation of the activity, select the Automatically create the workflow checkbox.
-
If the workflow is to be started at a later time, clear the Automatically create the workflow checkbox.
-
-
-
Click Submit to finish creating the activity.
The Create Activity panel closes, and the new activity's Details Panel opens automatically.
You have successfully created the activity. You can now make changes to the new activity in the Details Panel, or close the panel if you want to do something else.
Tip
To streamline the activity setup process, you can also create a new activity directly under any existing activity. When you do this:
-
The Parent field is automatically set to the appropriate parent activity (i.e. the activity under which you created the activity), so you don't need to set it manually.
-
The Activity type field is filtered to only show valid options for the selected parent activity, making it easier to choose the correct activity type.
To create an activity as a child of an existing activity:
-
In the Timeline or Summary display modes, hold the pointer on the activity under which you want to create the new activity and click
 Add under by the activity's name.
 -
Alternatively, open the Details Panel of the activity under which you want to create the new activity, hold the pointer on … Actions and click the
 Add Under option.
Connect Activities to Spend Investments
You can connect activities at various levels (plan, campaign, program, etc.) to one or multiple investments in Uptempo Spend. You can do this while creating an activity, or you can also connect an existing activity to an investment.
To connect an activity to investments, follow these steps:
-
On the activity where you want to connect investments, open the Budget section:
-
While creating a new activity, go to the Budget section in the Create Activity panel.
-
For an existing activity, go to the Activities section and click on the activity in the hierarchy to open its Details Panel, then click the Budget tab.
-
-
Click Connect to Spend.
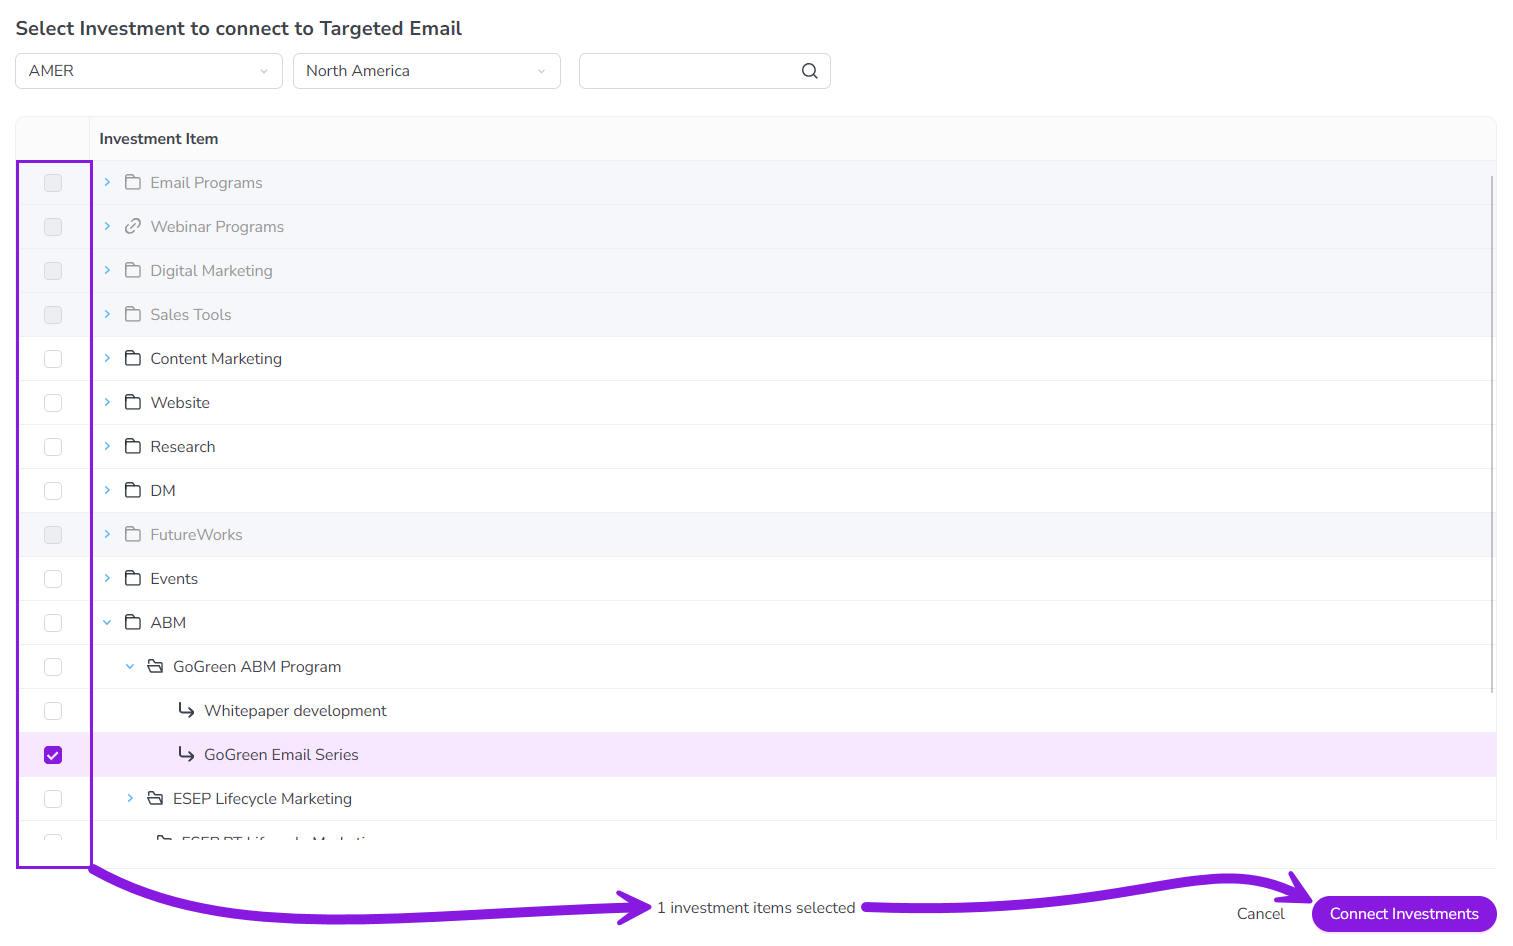
The Select Investment to connect to... dialog is displayed.
-
Select the budget you want to use from the Select Budget menus. You can also use the search box to search for the budget you want.
The Investment Item list is displayed that shows available investments in the selected budget.
-
In the Investment Item list:
-
Select an investment you want to connect using its checkbox. If needed, you can select multiple investments.
-
Click Connect Investments to connect the selected investment(s).

Note
If needed, you can select investment items from more than one budget. When you switch budgets, any investments you have already selected remain selected, and will be connected when you click Connect Investments.
The Select Investment to connect to... dialog closes. You are returned to the activity's Budget page, which now contains additional subsections that display Spend data for the connected investment(s):
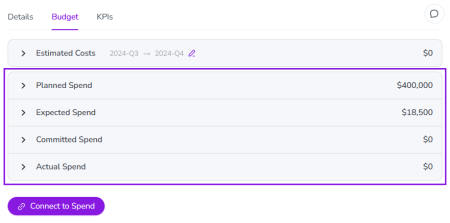
Note
The subsections that are displayed correspond to the spend data categories that are configured in Uptempo Spend: by default, these are Planned, Expected, Committed, and Actual.
In your environment, some of these subsections may not be visible, or they may have different names.
-
-
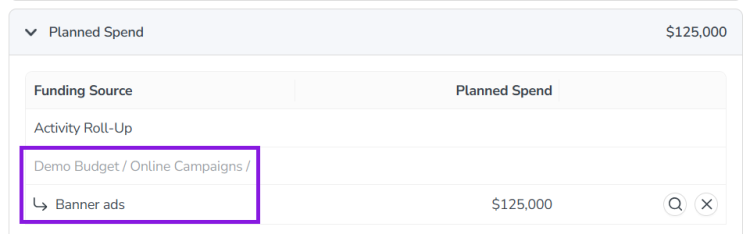
Click on a subsection to expand it and see the details of the connected investment(s):
-
To disconnect an investment from the activity, click
 Disconnect.
 -
To view the details of an investment in Uptempo Spend, click
 View Investment.
-
-
If you're creating a new activity, finish creating the activity and click Submit to apply your changes. e
-
If you are editing an exiting activity, your changes were already saved automatically when you clicked Connect Investments.
-


The selected investments are now connected to the activity, and will be visible in Spend reports and budgeting overviews.
Configure Planned Impact
If the activity is a point where plan performance data is to be captured, you can enter projected performance data while creating the activity.
To add projected performance data to an activity, follow these steps:
-
Add the number of requests the activity is expected to generate.
-
If you want to edit the distribution:
-
Select Monthly or Quarterly (distribution) in the Distribute Results menu.
-
Click Edit distribution.
-
Edit the number of inquiries per time range as desired.
The months or quarters with the planned inquiries are displayed.
The fields per month/quarter are editable.
-
Based on the funnel settings, the planned revenue projection is calculated.
Note: Editing the month/quarter fields will override the number in the Planned Inquiries field.