User Management
This release centralizes user management into a single, streamlined interface.
All areas of the previous administration that have not yet been converted to the new interface can be found under the entry Overview. Conversely, users and roles can no longer be customized in the old way. The counterparts for the newly implemented features presented here have been removed from the Administration interface.
Key improvements include:
-
Consolidated user configuration: All user settings, permissions, and roles can now be managed from one central location. Previously, these were spread across multiple areas of administration.
-
Guided setup: The new interface guides administrators through the user configuration process, reducing the risk of errors or incomplete setups.
-
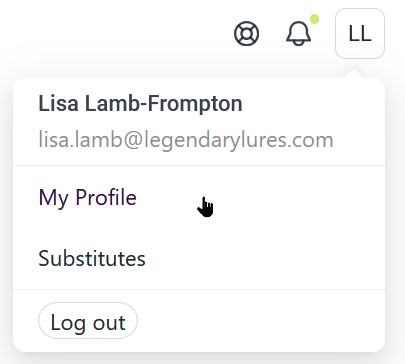
Self-service affiliate management: End users can now edit their own Affiliate IDs directly from their user profile (Click your Initials, then select My Profile > Settings). This includes the ability to reassign affiliates when job responsibilities change, without requiring administrator intervention.
These updates simplify user management, reduce configuration errors, and empower end users to manage certain aspects of their own accounts.
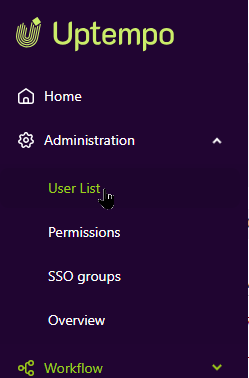
Under the expanded Administration menu, you'll find several options related to user management:
-
Click on Administration menu item in the left sidebar.
-
Click User List to view and manage existing users
-
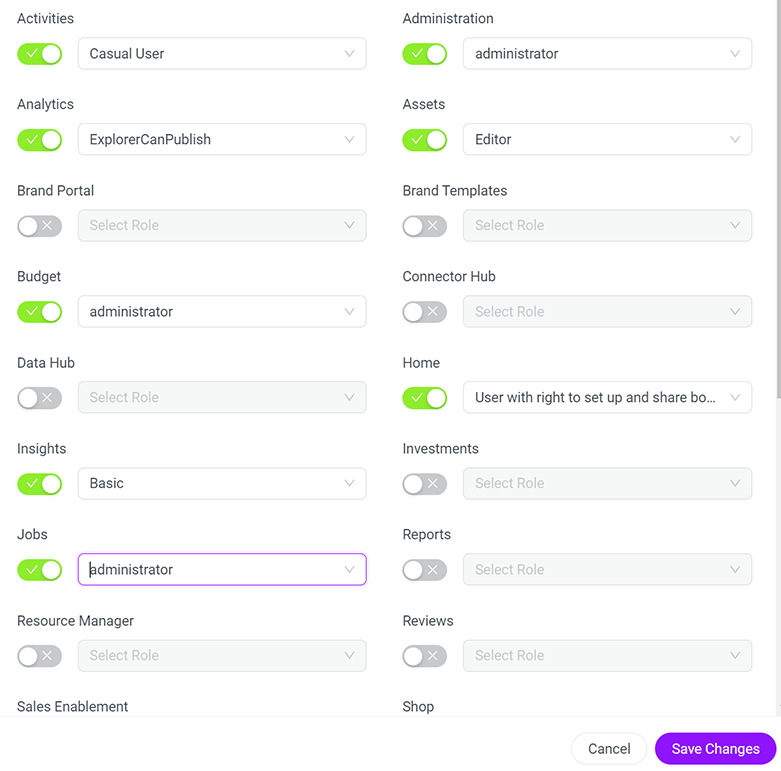
Select Permissions to configure user permissions and roles
-
Choose SSO groups to manage Single Sign-On group settings
-
Click "Overview" for more settings and configuration
These options allow administrators to access the centralized user management features described in the release notes, including user configuration, permissions setup, and role management.
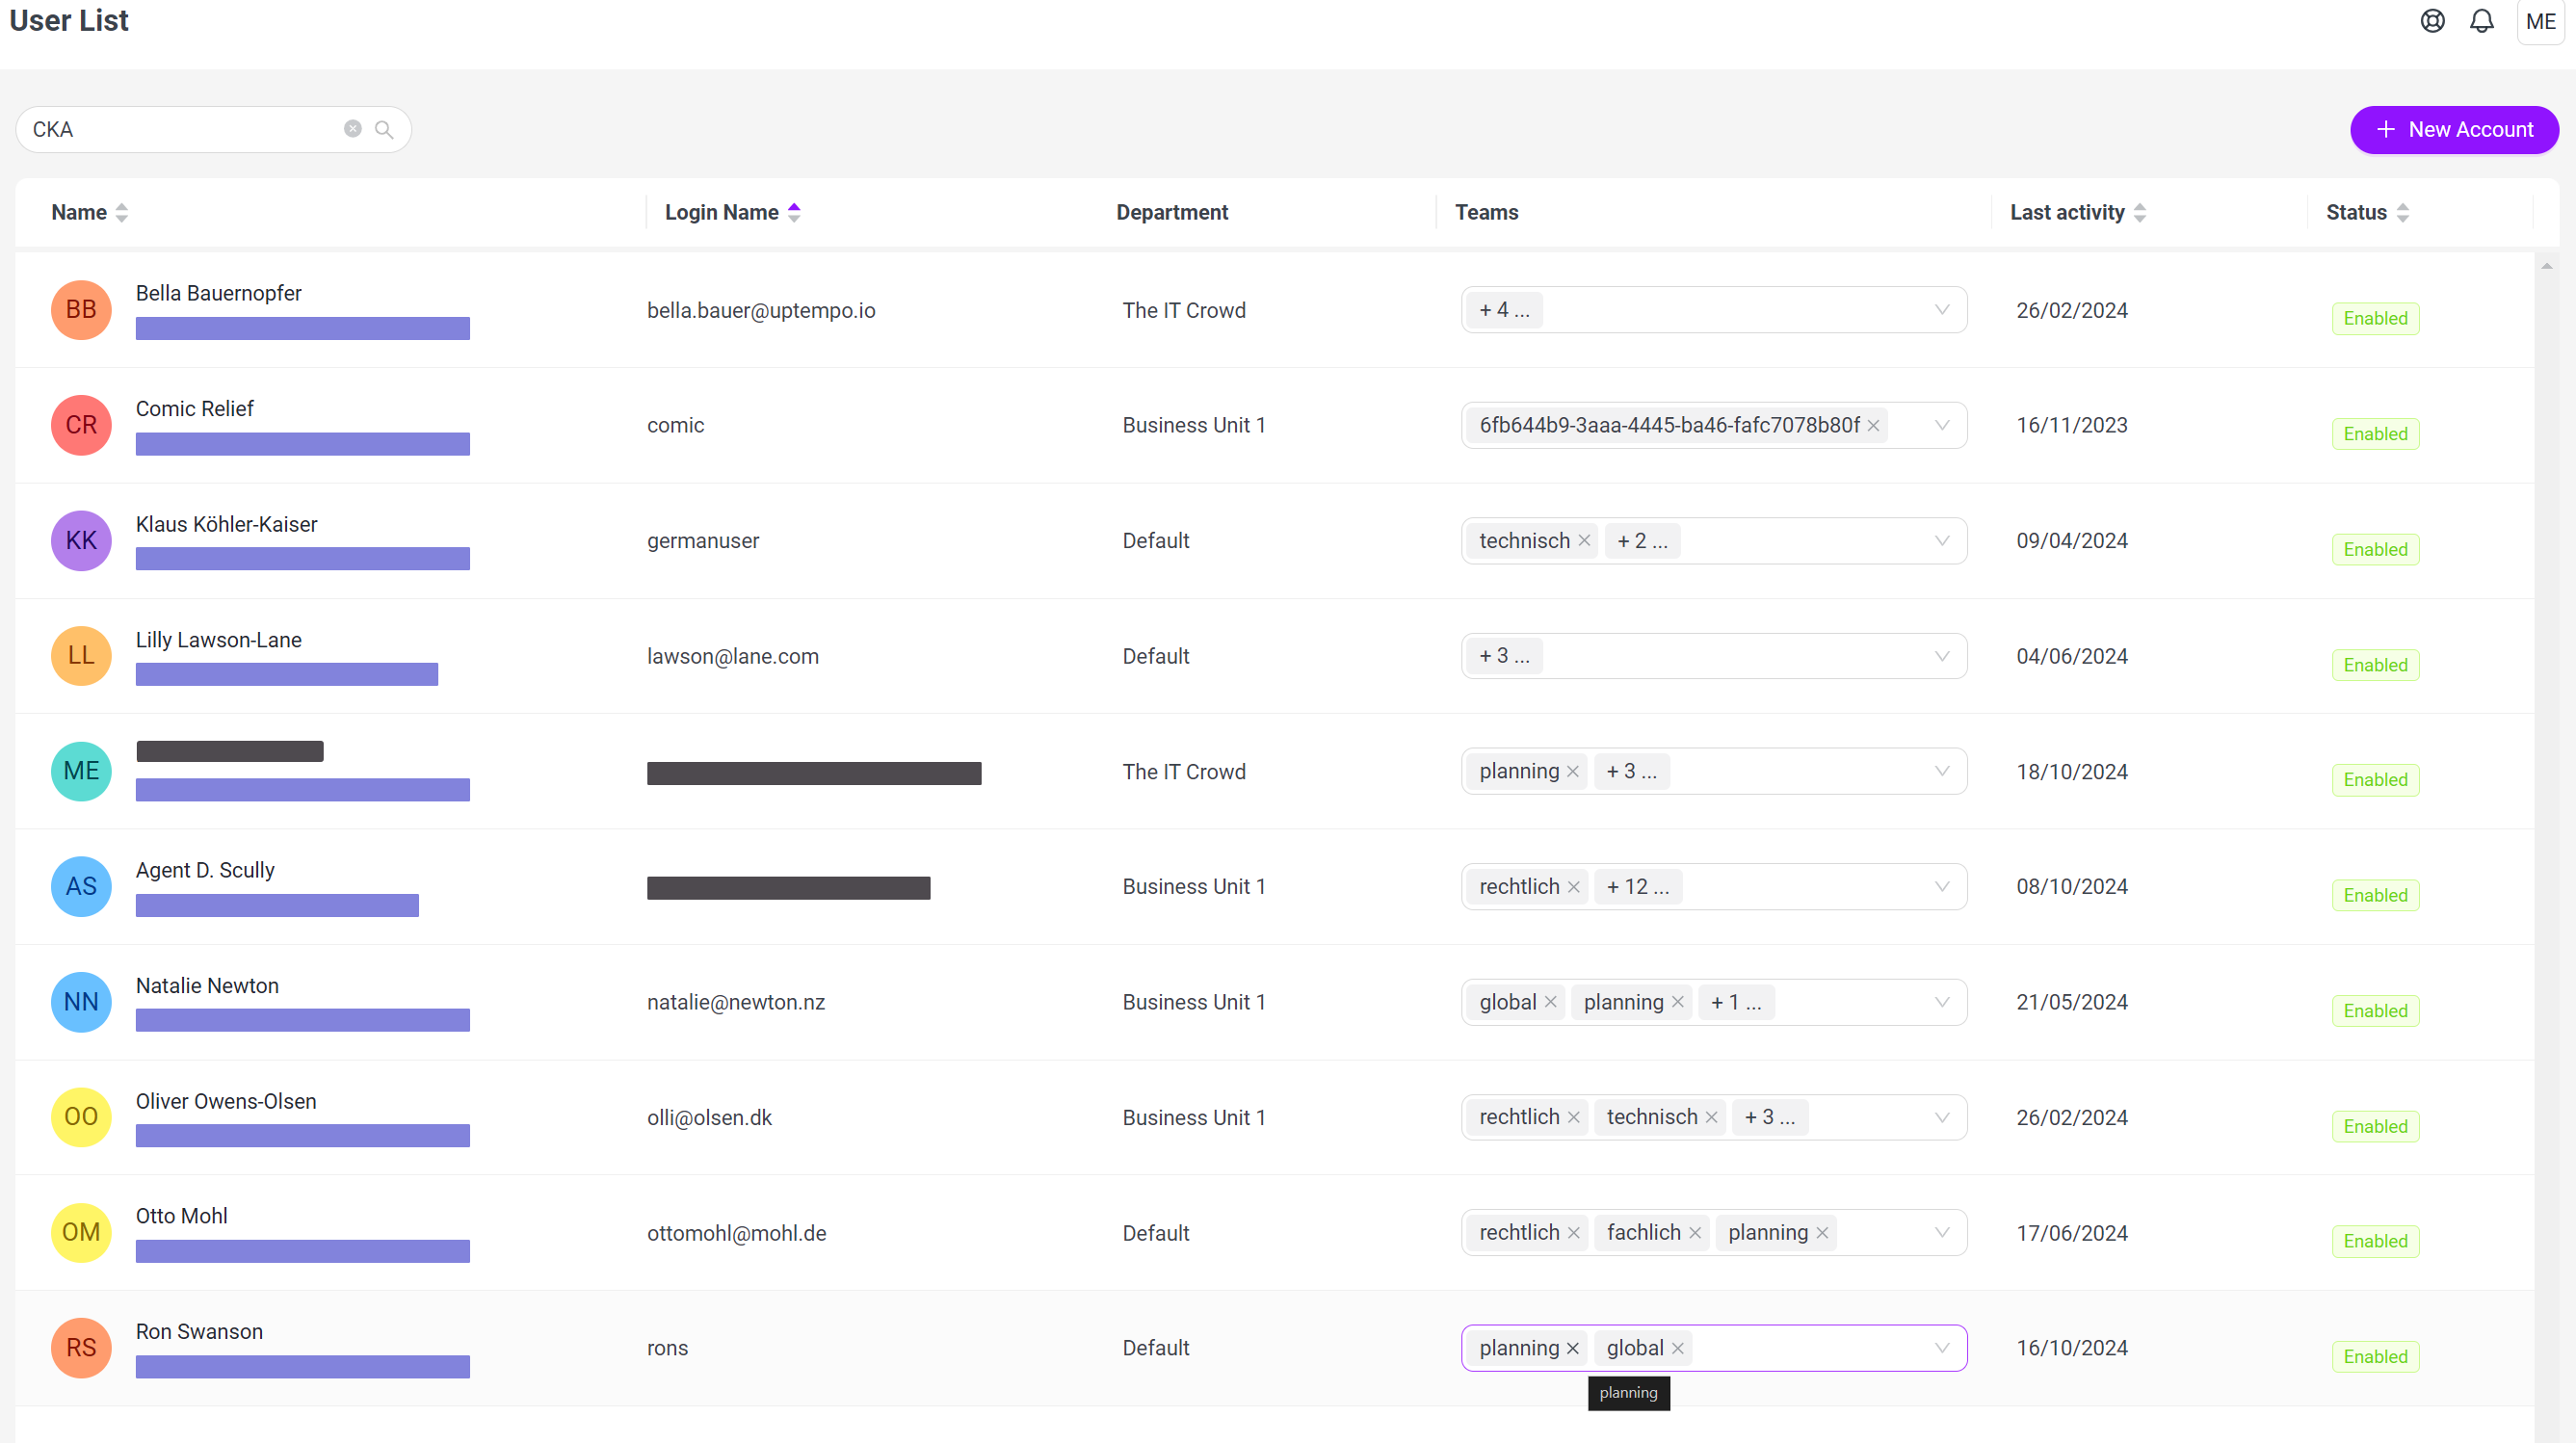
In the user list, anyone with the appropriate permissions can see the users created in the system, the departments and teams to which the names are assigned, and the timestamp of the last login. By double-clicking on a user in the list, the user account can be edited. Memberships and roles are edited and changed via the corresponding tabs.
While hovering over the Teams section, a user can be removed from a team without having to open their account. Simply click × next to the team name to remove them. In the Status column, you see enabled and disabled users. Just click the button to change the user status.
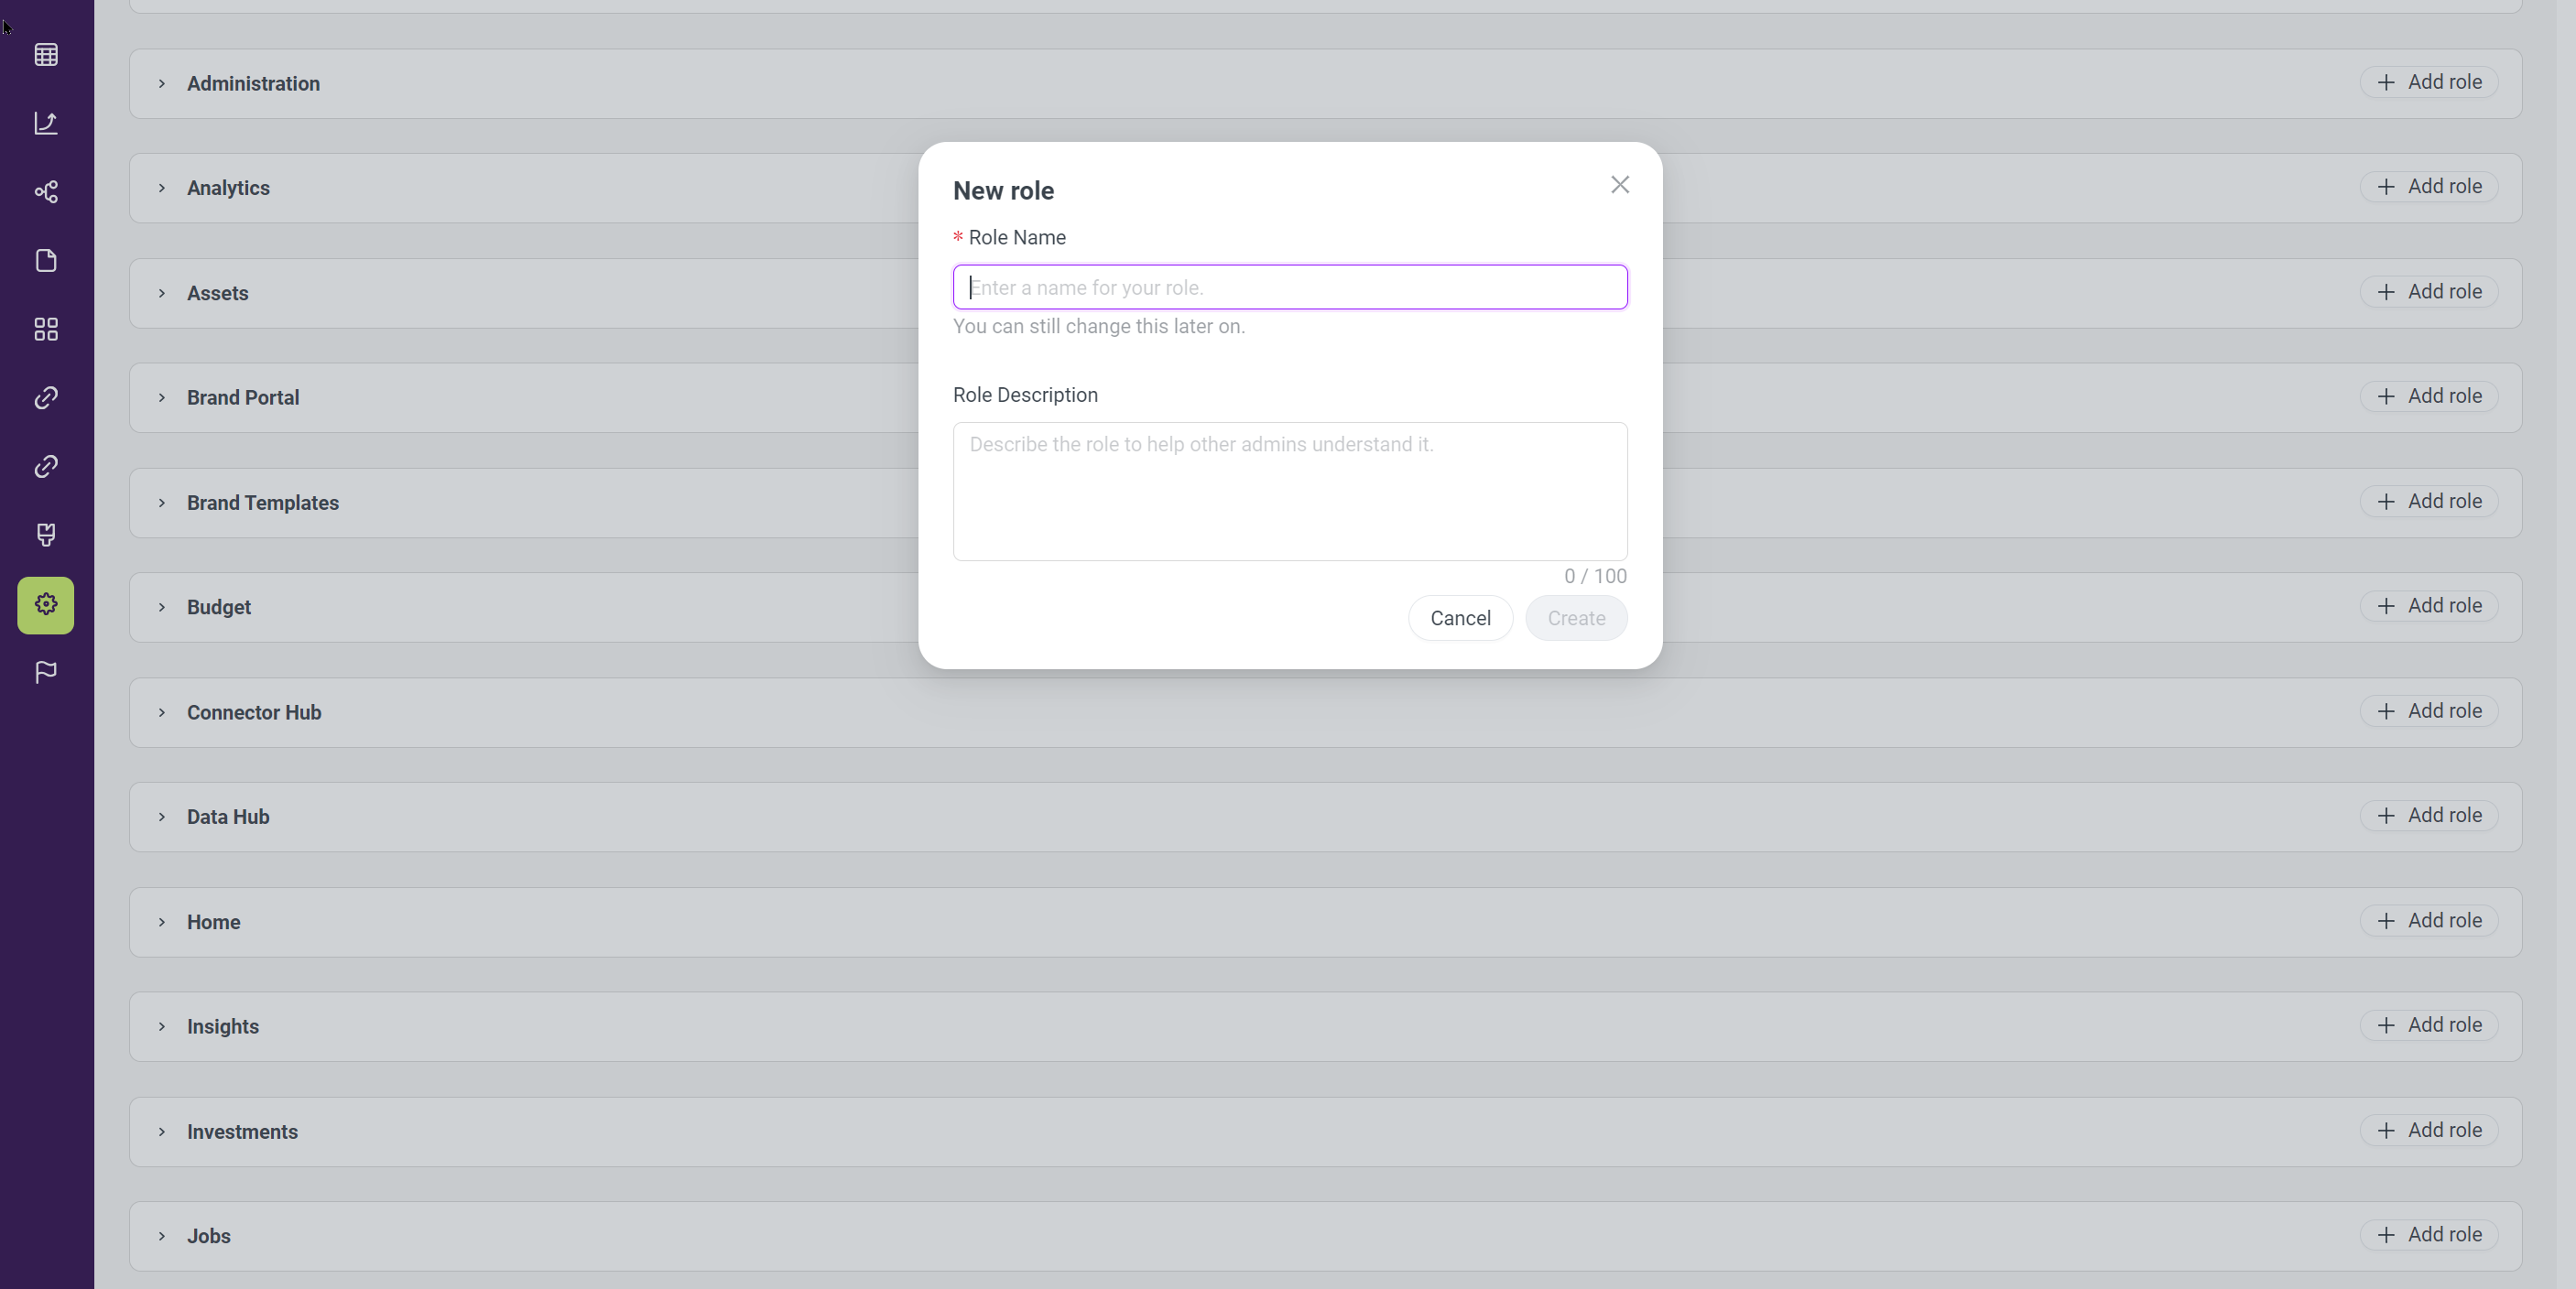
In this window you create new user roles for Uptempo Work Management, copy existing roles, edit and delete roles.
Under this entry you will find the configuration of the SSO groups. Use the New Group button to create a new group. Select a default group from the list by moving the slider under Use as Default to active. Other functions are Duplicate and Delete a selected SSO Group.
This menu item corresponds to the legacy BrandMaker administration, which has been cleaned up but is still used for all other module configurations and system settings.