Completing the Attributes of Multiple Assets One by One
-
Click > Assets > or click directly after an upload .
-
Select the import you want to edit:
-
If you want to edit the last import, it is already displayed in the expanded state at the top of the list.
-
If you want to edit another import:
-
Click on the name of the import to open it on a separate page.
This is the only option in the list view.
-
In gallery mode, click on the arrow
 after the name.
This expands the import folder without leaving the overview.
-
The content of the selected import folder is displayed.
-
The Import page displaying all previous imports is loaded.
-
Choose one of the following options to select multiple assets:
-
If you only want to edit only pending assets in the import folder, select the filter in the toolbar.
-
If you want to select all of the assets contained in the import folder, activate the filter in the toolbar. This includes already edited assets.
-
To select a range of assets, click on the tile of the first asset to edit. Hold down the Shift key and click on the last asset in the import folder you want to edit. Note: Holding down the Shift key for marking assets also works during scrolling in a long list.
-
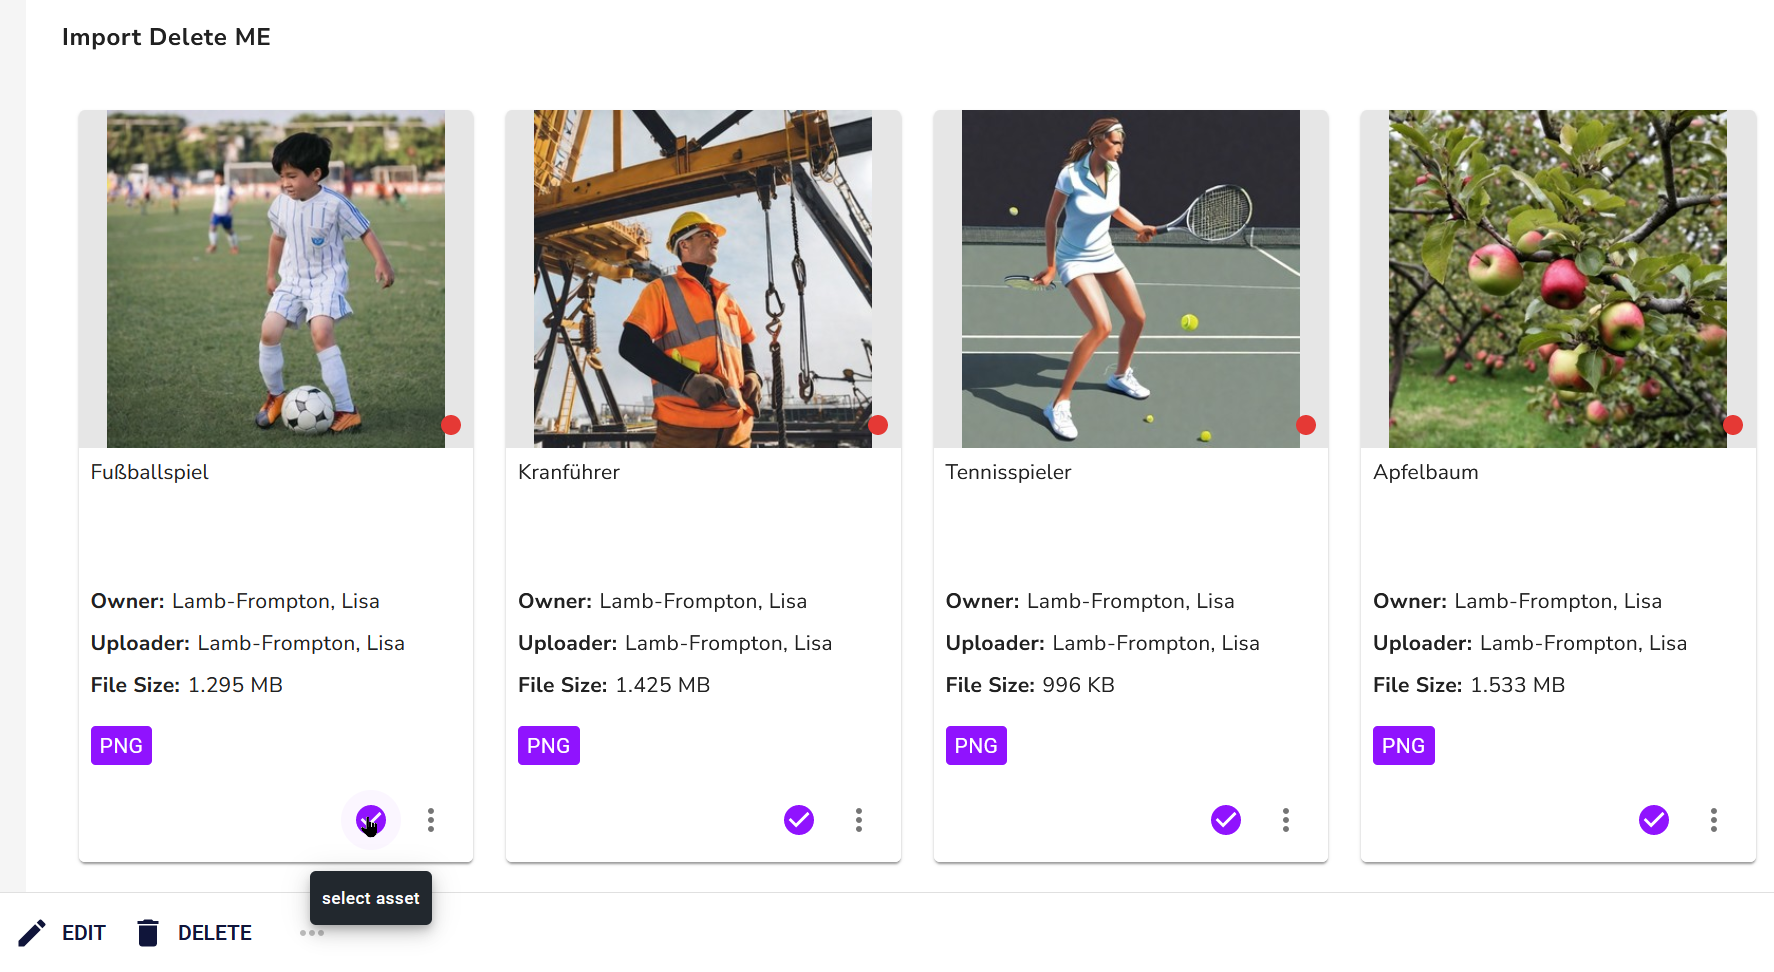
Optional: To select and mark multiple assets, either click on the assets to be selected one after the other or directly on the + symbol in the footer of each asset tile. This allows you to mark multiple assets without having to select an entire area. Note: A multiple selection also works for multiple import folders after you expand them by clicking the down arrow
 at the end of the row.
The assets you have selected are each marked with a checkbox.
-
-
-
Click the pencil icon with the Edit button in the footer of the window and select .Edit assets one by one.
The dialog for editing the asset attributes opens for the first selected asset.
-
Select the asset type from the Asset Type drop-down menu.
The attributes assigned to the asset type are loaded and displayed.
-
Complete the asset attributes of the displayed asset.
Note: You must complete at least the required attributes in order to save your entries. Required attributes are marked with an asterisk (*).
-
Click Save and next.
-
Repeat steps 5 to 7 until the attributes of all selected uploaded assets in the import folder have been completed.
You have completed the import of the files and have turned them into assets. The edited assets are now available in the Media Pool module.
Note:
Even if no previews have been created yet, you can start editing the attributes of the import files. Editing large files takes a little longer. The previews and thumbnails are generated in the background and are available on the asset immediately after completion.